News & True RV Stories
Pioneer back-up camera setting procedure 03 thru 07 model year coachs
Published September 01, 2007
Category: Tech
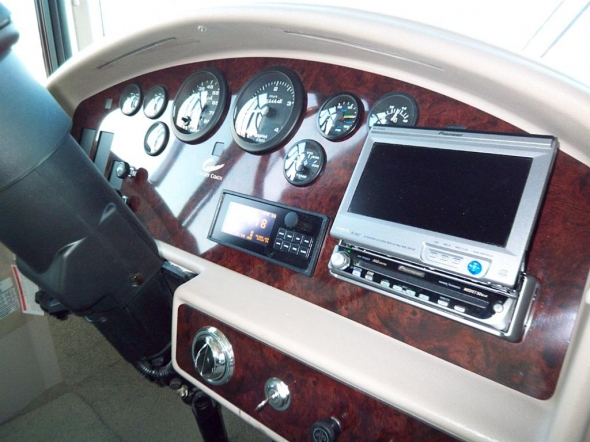
3-31-03 Back Up Camera Cheat Sheet Pioneer system revised 9-1-07
This procedure should be done if your back-up camera no longer appears when your Pioneer is powered up. This typically happens when power is disrupted to your Pioneer system.
- Turn your back up camera switch (GPS switch off if equipped)
- Turn on your FM stereo and watch the Dolphins jump
- Push the center of the blue round button on right side of stereo
- The blue round button has 5 positions, up-down-right-left and center.
- Using the blue round button, push the bottom and scroll down to "SETUP"
- Push the center of the blue button
- "VIDEO SETTING" should be highlighted, if not using the blue round button scroll down to video setting.
- Push the center of the blue button
- Using the blue round button, push the left side and scroll over to "BACK UP CAMERA"
- On that same screen the bottom right corner should read BATTERY, if it does skip to step 13.
- If bottom area reads GND, then using the blue round button scroll down and highlight that box.
- Using the round blue button push the left side and scroll to BATTERY.
- Next push the little silver button labeled "Wide" 3 times or until your radio comes back on. This button is to the immediate left of the blue round button.
- Turn on your "Camera" switch and your camera should be working.
Click any image to enlarge.